
IDP Form Editor
General information
In the Form Editor section , you can pre-create and customize forms for goal and material cards. Users select these forms when creating a goal or material, eliminating the need to manually configure the fields each time .
Using pre-configured forms:
- reduces the time it takes to create goals and materials;
- simplifies the work of administrators and users;
- allows you to use a single standard for the design of goals and activities;
- helps to quickly fill out development plans and maintain a unified approach across the company.
Goal cards
Allows you to customize the set of fields that users fill out when creating a goal.
Customization includes adding new fields and editing existing ones (for example, hiding them, renaming them, or adding a hint).
Users will be able to work with several different sets of fields—goal card forms—simultaneously. For example, when it's necessary to separate training and development goals from business goals.
An important addition is the ability to combine fields into blocks and allow a field to appear only after a goal has been created. This will allow, for example, to dedicate fields for entering results and facts.
Who will benefit from:
For administrators responsible for staff development.
Setting up goal cards will allow you to work with a wide range of scenarios, incorporate key performance indicators into goals, and ensure a flexible approach to setting and monitoring their implementation.
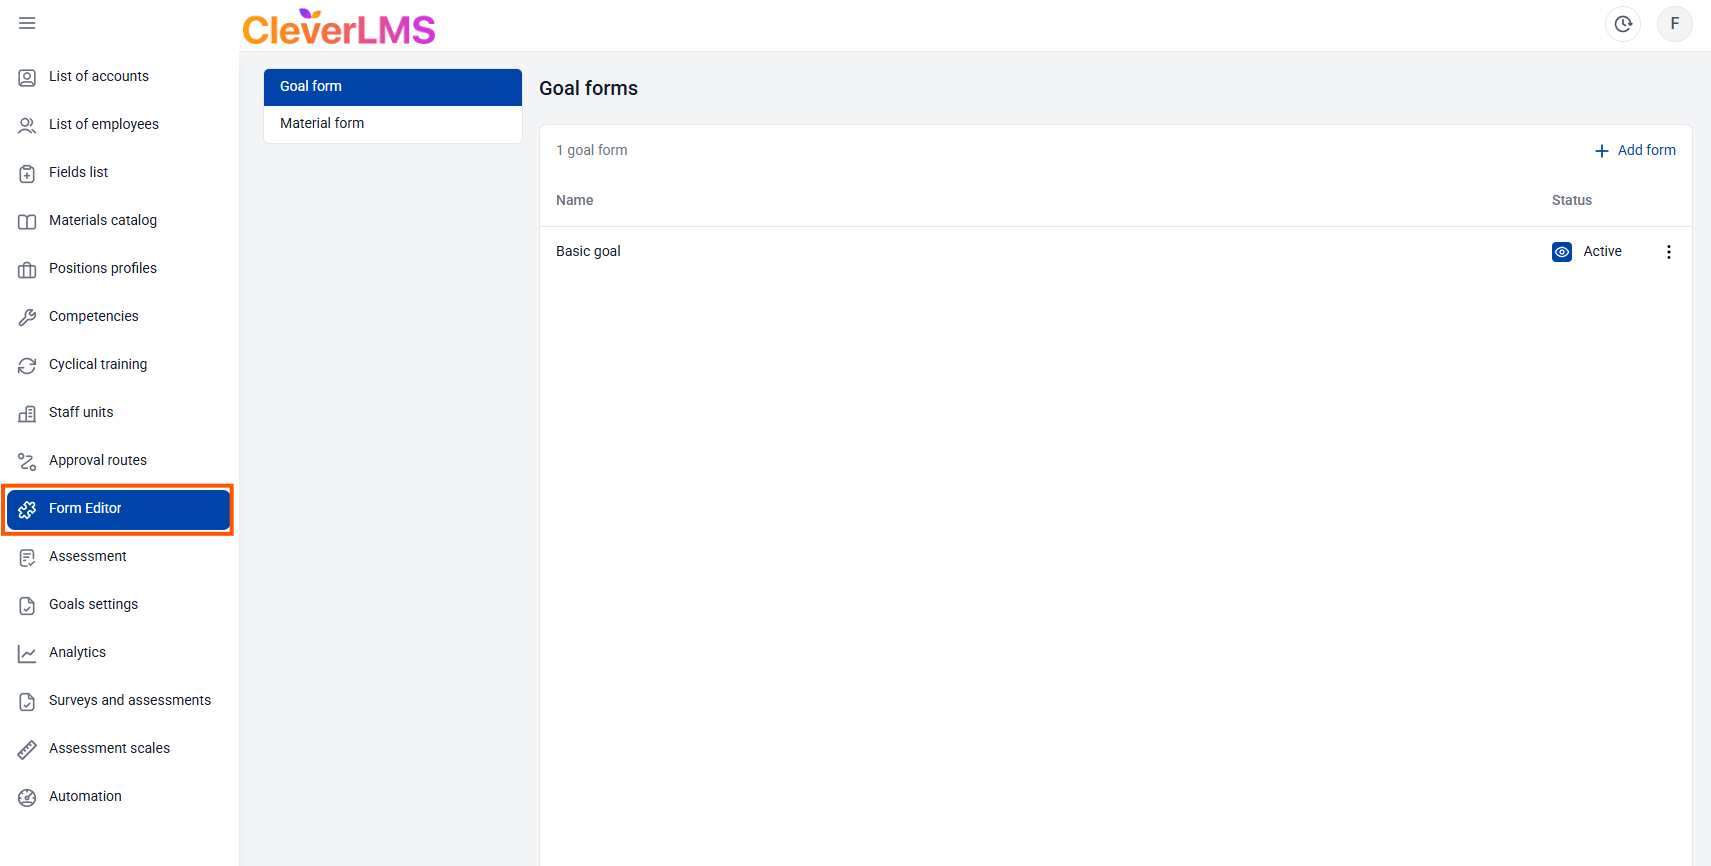
What you need to do:
To customize the desired field set, open the "Form Editor" section. In the "Goal Card" section, you'll see a list of existing goal card forms (including the default form)—you can edit them or archive them.
When editing or adding a new form, you can set the form name, its description, hide the display of standard fields, as well as blocks with materials and skills.
By default, the standard fields are displayed:
Skills and Materials Block:
- Skills for development - can be disabled (made inactive);
- Study materials - can be disabled (made inactive);
Block description:
- Name - cannot be made inactive;
- Description - can be made inactive;
- Complete by date - deadline for completing the goal, cannot be made inactive;
- Priority - you can set priority values or make them inactive;
- Type - allows you to select the goal type. This field can be deactivated.
To change the wording of goal types (all, except other), please contact Support. - Percentage Complete - Can be made inactive;
- Status - the field cannot be made inactive;
- Goal Weight - displayed if the goal weight setting feature is enabled in your company. This can be disabled.
To enable this feature, please contact your account manager or Support.
You can also create your own fields and combine them into blocks. In addition to a name and description, specify the field type (several are available, such as text or select from a list) and a hint.
Also, specify:
1) Is this field required when creating a goal?
2) Should the field appear after the goal is created?
Once a form is created, it becomes available to all users. Now, if there are multiple forms, the goal creator first selects which form the goal belongs to and then fills in the fields selected for that goal.
To archive a goal card (hide it from users), you need to:
- Go to the Form Editor section of the IPR module;
- Select Goal Card in the additional menu ;
- In the table of goal form cards, click on the ellipsis ;
- Select Archive ;
- In the confirmation window, select Move.
To restore a target card from the archive, you need to:
- Go to the Form Editor section of the IPR module;
- Select Goal Card in the additional menu ;
- In the table of goal form cards, click on the ellipsis ;
- Select Restore ;
- Confirm the action .
To use an existing goal card form to create a new form similar to the reference one, you need to:
- Go to the Form Editor section of the IPR module;
- Select Goal Card in the additional menu ;
- In the table of goal form cards, click on the ellipsis ;
- Select Duplicate.
These same forms are now displayed in goal reports. Each form's goal will have its own tab in the file.
The Skills and Materials block allows you to link a goal to the development of skills and competencies, if necessary .
In the settings, you can enable adding a skill from the skill tree to a specific goal by selecting it in the Enable column using the checkbox. If enabled, a field appears on the card where you can specify the skill to be developed.
You can also allow the addition of study materials - this helps support the development of selected skills.
When creating a new goal form, the Description field displays a list of standard fields that cannot be deleted . They can only be hidden and partially edited .
To change the status of a field from the Description block:
- In the Form Editor section , go to the Goal Card tab ;
- Select the desired target from the list by clicking on it;
- Click on the Add Block button - a block will be added with the name New Block;
- Click on the three dots to the right of the new block name;
- Select Edit ;
- Please specify a new field name ;
- Click Done;
- Click the Save button on the goal form card itself.
To add a new field to a goal card block:
- In the Form Editor section , go to the Goal Card tab ;
- Select the desired target from the list by clicking on it;
- In the required block, click on Add field - a new field of the Text type will appear in the list;
- Click on the created field to edit it.
- After making changes, click the Save button on the goal form card itself .
Field editing settings include:
- Selecting a block within the target in which this field will be located;
- Filling in the Field Name ;
- Selecting a field type from those existing on the platform;
- Fixing the field editing setting in a goal after the employee's IEP has already been approved:
- Free editing - the field can be edited, the IEP status will not change,
- Requires re-approval - the field can be edited, the Agreed status of the employee's IEP will change to Under revision,
- Prohibited from editing - this field cannot be changed after the goal has been created. - Specify additional settings:
- whether the field is required when creating a goal - the field cannot be skipped;
- appears after the goal is created - the field does not need to be filled in when creating the goal; once the goal is created and saved, this field will appear in it automatically.
Material cards
System administrators can customize the set of fields for materials and development activities. Customization includes editing standard fields (they can be renamed, hidden, or customized with custom hints) and adding new ones.
Who will benefit from:
For administrators responsible for catalog content. Customizing content cards allows for a flexible approach to different content types, eliminating unnecessary fields where they're not needed (for example, for standard development activities). You can also add important information that isn't pulled from CleverLMS's main integration product.
A separate, simple form with a clear set of fields can also be set up for users who want to apply for training or attend an event. This form can be filled out when creating a goal and viewed during approval or in a report.
What you need to do:
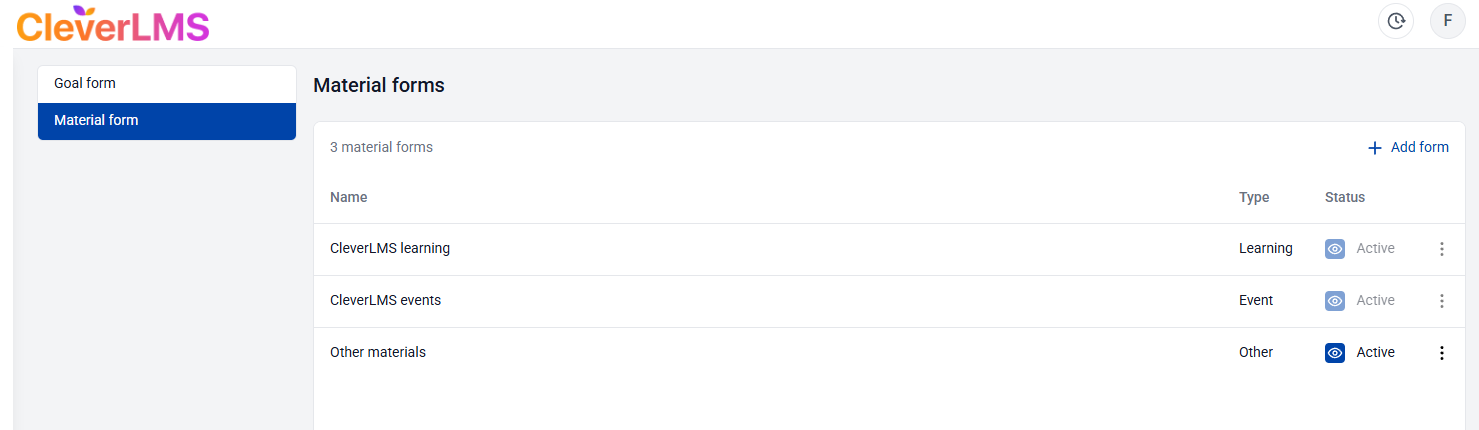
To configure this, go to the "Form Editor" section in the admin panel. Then, select the "Material Card" section. In this section, you'll see a list of existing forms for material cards.
Please note that the "CleverLMS Training" and "CleverLMS Materials" forms cannot be deactivated, as they are integrated with the main platform. However, you can rename them, edit their field sets, and use them for other materials, such as offline events.
Other forms can be deactivated.
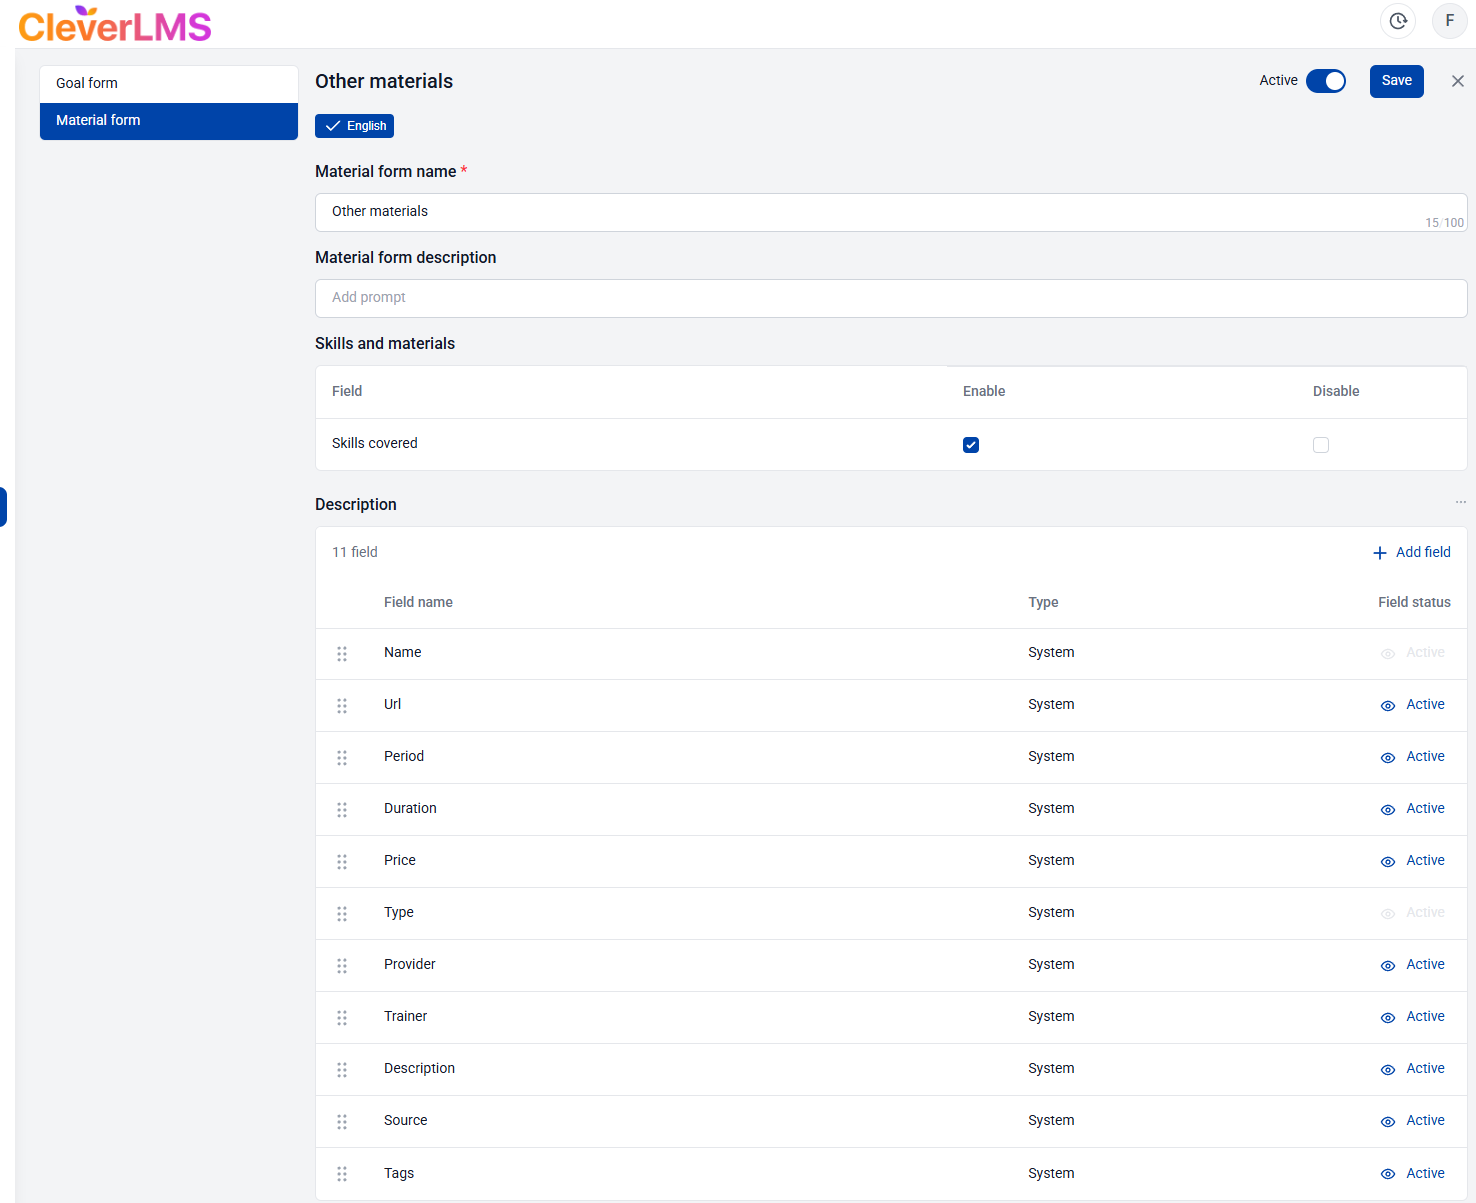
While editing a form, you can set its name and description, hide/rename its default fields (and set tooltips for them), and add your own. You can also hide the section displaying the skills developed by this material.
When adding a new field to the form, similar to the functionality of the goal card editor, you can specify the field type (several are available, such as text, date, or select from a list), specify a pre-filled value, and a tooltip.
The following settings are available for the field:
"Required when creating a goal " allows you to configure whether all fields are required or optional.
"Appears after goal creation" allows you to configure whether the field appears after goal creation (not available for editing existing ones).
Once a form is created, it becomes available to all users.
For example, the administrator added the "Priority" field. The administrator will use it when manually adding materials to the catalog.
Other users in the app will be able to fill in the field when creating a goal —when manually adding content not from a catalog created by the administrator or through the integration. Important: content added manually in the user interface is not added to the course catalog in the admin panel. It is displayed only in the specific goal created by the employee.
These same forms will be displayed in separate tabs in the materials report.