
Creating and configuring an Audit
- General information
- Creating an Audit
- Basic Audit Settings
- Creating Audit Form Fields
- Adding Audit Objects
- How to grant access to Audit
General information
Audits allow for the systematic review of processes, actions, and compliance with standards within a company. They help document facts, identify errors or gaps, ensure transparency across employees and departments, and provide up-to-date information to stakeholders. Audits enable management to monitor task performance, improve processes, and make informed decisions based on reliable data.
Version 14.2.0: The ability to complete an audit is now available both in the web version and on Android and iOS mobile devices.
Creation and configuration of an audit is carried out in the Audits section.
The section itself contains the following filters and sorting options, allowing you to display the section's contents based on certain characteristics:
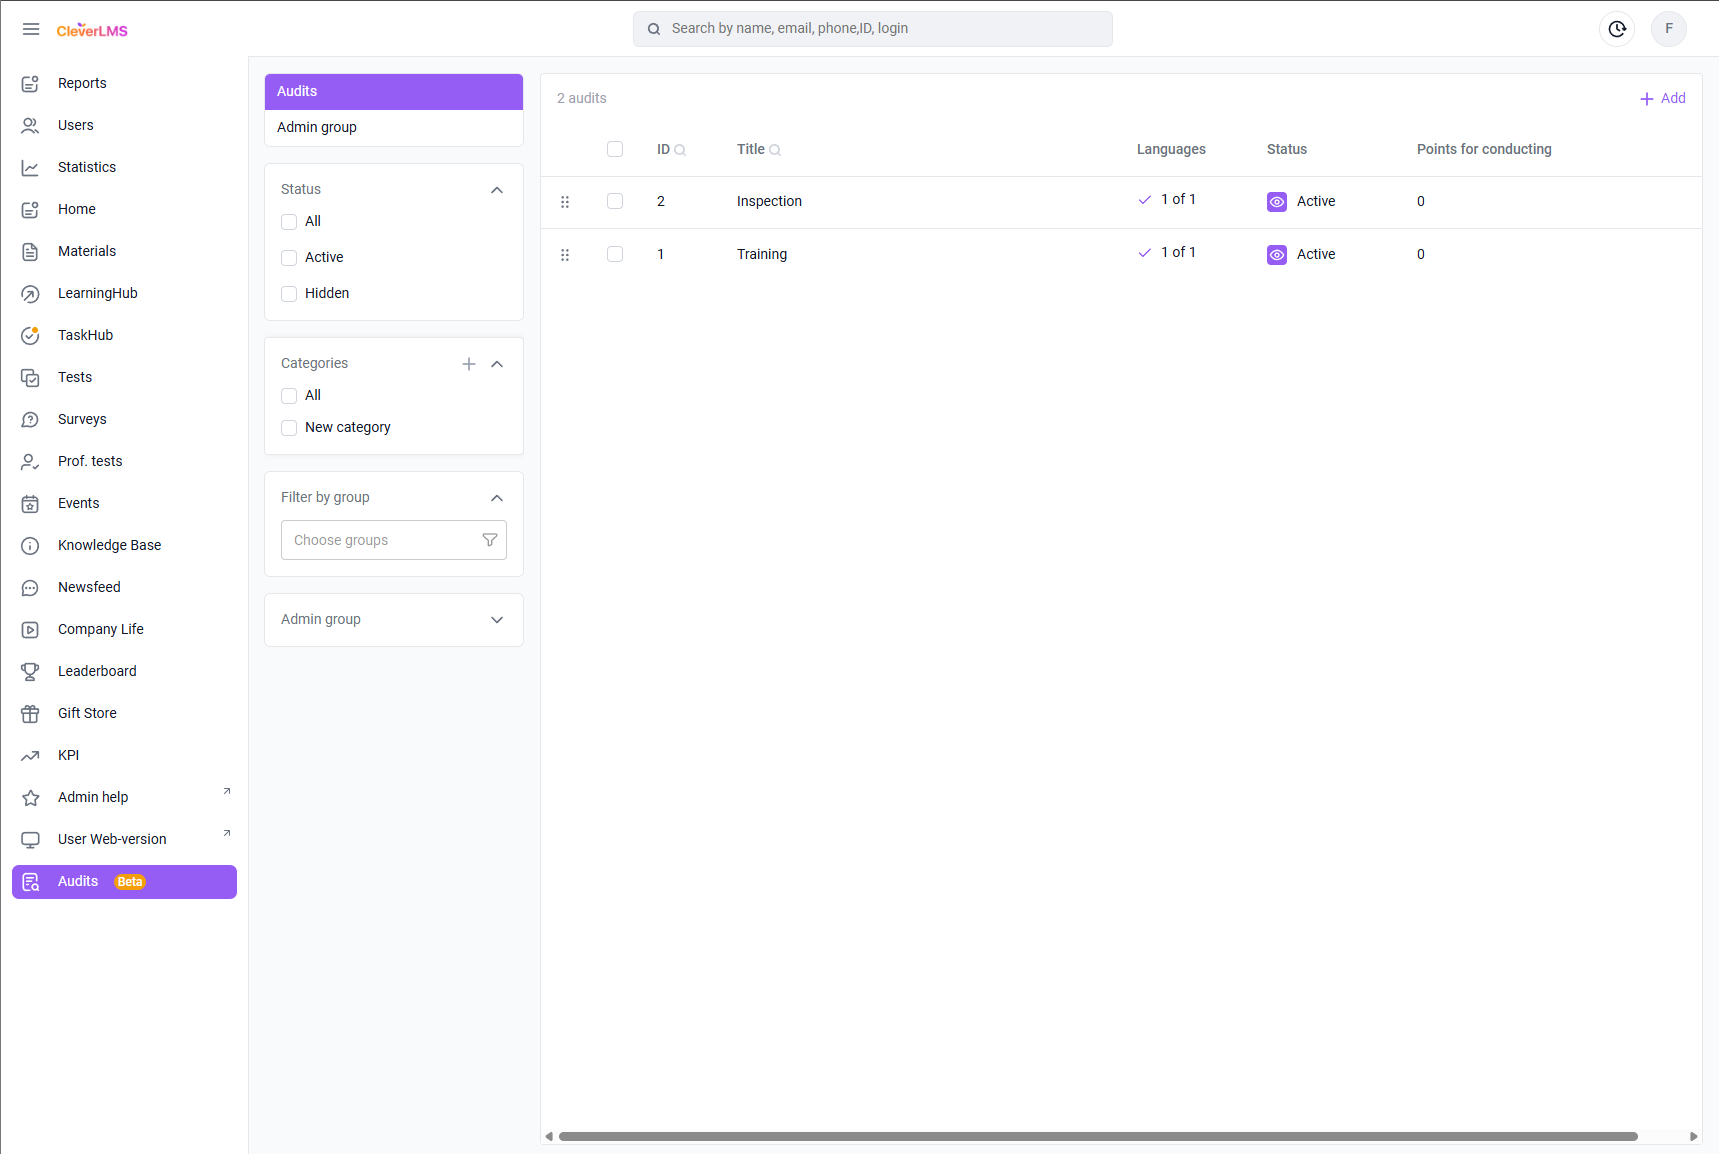
The Status filter allows you to display audits depending on whether they are Active or Hidden.Using the Group Filter , you can select the required groups and view which audits are available to them in this section.
Administrative Groups allows you to see what Audits are available to administrators in those groups.
Categories filter Audits by general topic Categories .
Creating a category
Before creating audits , you need to create categories in which they will be placed. To do this:
- Go to the Audits section ;
- In the additional filters menu Categories , click on the " + " sign;
- In the window that opens, enter the category name in all languages available in your company;
- Click Save .
To change the name of a category or delete it:- Hover over a category and select the edit button (pencil);
- In the Category context menu :
- To change the name: enter a new name and save the changes by clicking the Save button ;
- To delete a category: Click Options and select Delete, in the confirmation window, select Done .
Creating an Audit
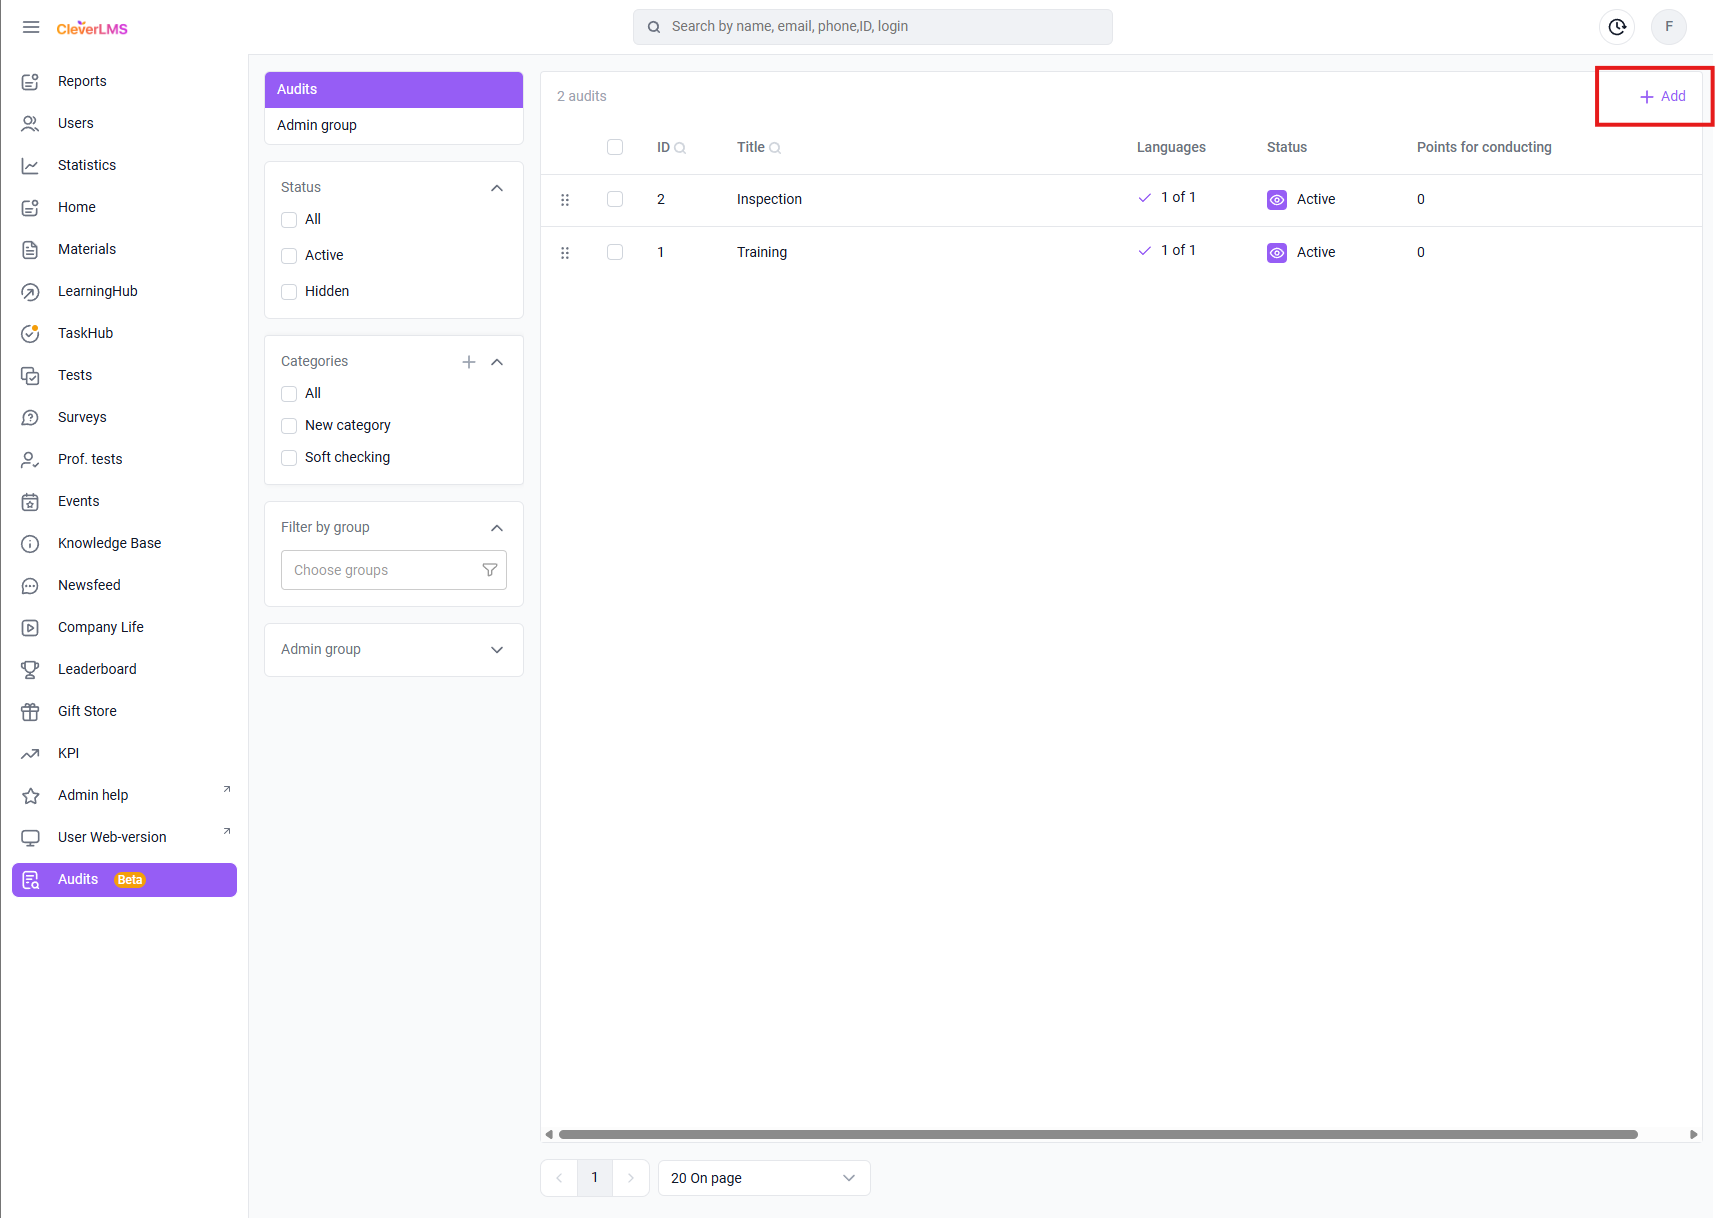
To create a new audit you need to:
- Go to the Audits section on the platform;
- Click the Add button in the upper right corner of the screen.
When selecting Audits in the section using the checkbox, the option to delete them using bulk actions appears. To do this, you need to:- Select the required audits using the checkbox in the general list;
- Click Actions and select Delete .
Assigning group and individual access to audits using bulk actions, as well as changing the order of Audits in the section list, will become available in future platform updates.
Basic Audit Settings
Once the audit has been created, you need to fill in its basic settings (required items are marked with * ):
Step 1. Enter the Audit title (maximum 80 characters);
Step 2. Specify its description, using the text editing functionality if necessary (two-level headings, bold or italic text, bulleted and numbered lists);
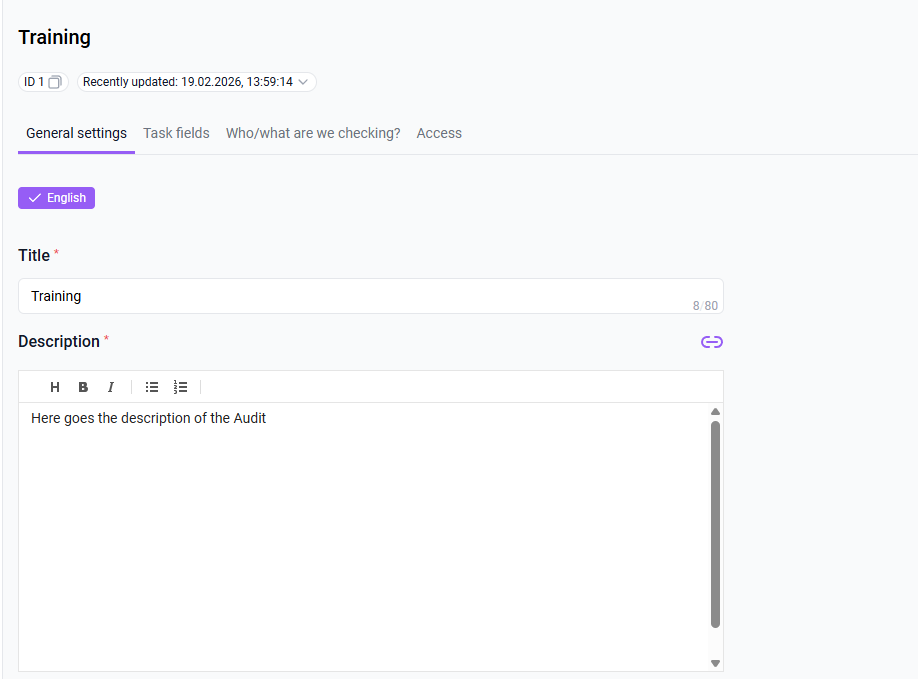
If necessary, you can attach a link to an external source or content posted on the platform.If your company has multiple languages enabled, you must complete all localizations. The available content languages can be switched at the top of the form.
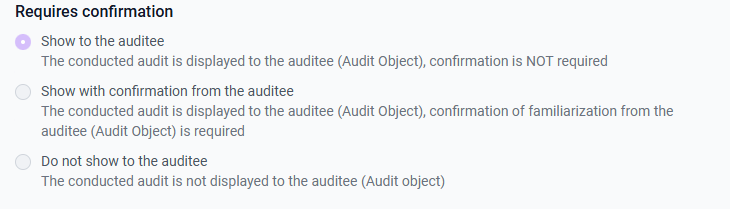
Version 14.4.0: Click the Copy data from another language button to copy values from another locale to populate audit settings. Currently, copying values from another language does not copy section names on the Form Fields tab. Please fill in these values manually before activating the audit.Step 3. Select one of the options in the Requires Confirmation section:
- Show to the auditee (selected by default) – the conducted audit is displayed to the auditee; confirmation of the audit results is not required;
- Show with confirmation from the auditee – the conducted audit is displayed to the auditee; confirmation of familiarization from the auditee (audit object) is required;
- Do not show to the auditee – the conducted audit is not displayed to the auditee - suitable for anonymous auditing.
Once auditing is enabled and at least one response has been received, it will no longer be possible to change the Requires Confirmation setting.Step 4. Select the category to which the Audit will belong

When creating an Audit, the first category from the list is automatically selected in its settings. If you need to create a new category, you can do so without leaving the Audit itself—simply click Create Category and enter the desired name.Technical details
If you create a new category directly from the audit via the "Create Category" button , it is important to note that even if you then click "Cancel" , the category will still be created and saved in the system.Step 5. Select the administrative group to which Audit will belong;
Step 6. Add an image that will be displayed to the user ( Format: jpg, jpeg, png, size up to 2 MB);
Step 7. If necessary, you can record geolocation collection during the audit, both when opening it and when submitting it.
Geolocation collection will be implemented in future platform updates.Step 8. Set a delayed publication date if you want the audit to open for users to access at a specific date and time:

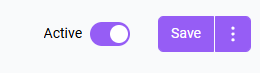
The status switch in the Audit header, Hidden or Active, indicates the availability of the task in the platform – whether it is displayed in the user interface or not.Note : You must activate Audit after completing all its settings. If you move to any other screen without saving your changes, a Save Changes pop-up window will appear .

Clicking Done saves all changes on the current tab. Clicking Cancel discards the changes. In both cases, you'll be taken to another tab.After filling in the basic Audit settings, click Save Changes and proceed to the next step - creating and filling in the form fields.
Creating Audit Form Fields
Once the basic Audit settings have been configured , you can move on to creating form fields .
To create Audit form fields, go to the Form Fields tab in the form.
Form fields in audits can be placed in different sections. This allows you to conveniently arrange audit items based on their topic and purpose.
To add a new section:- Go to the Task Fields tab in Audit;
- Enter the section name in the field to add it;
- Click Add Section or press Enter on your keyboard.
Created sections can be rearranged by clicking the arrow in the upper right corner of the section. Clicking the three dots allows you to edit the section name or delete it entirely.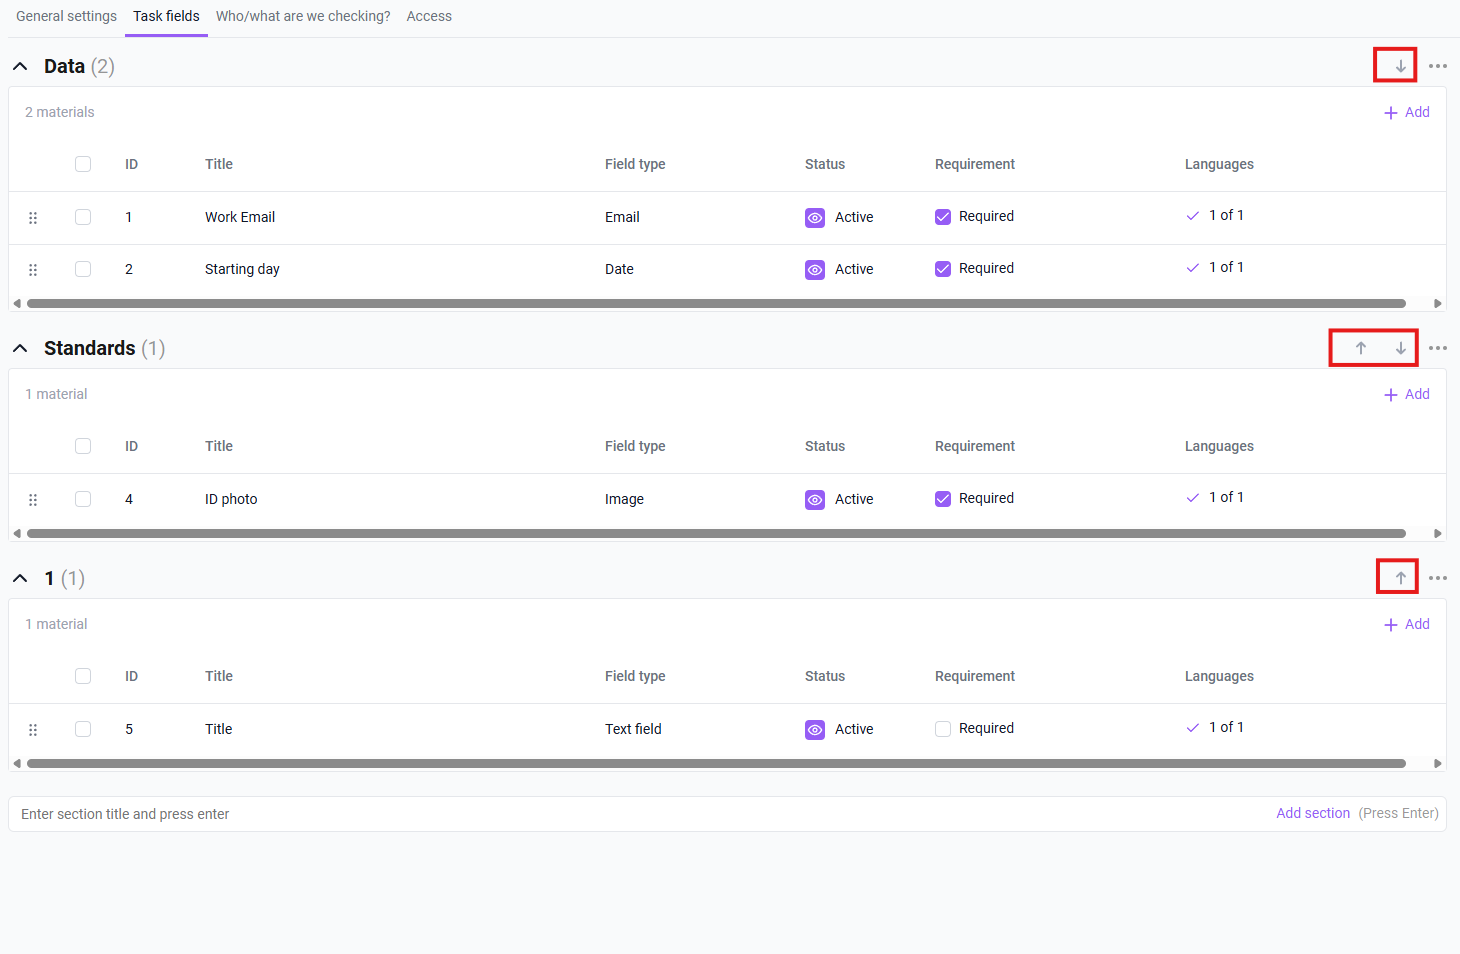
To add form fields to a section, click the Add button to the right of its name and select one of the available field options:- Email - has the format A@B.C, where A is the local portion of the address, B and C are the domain portion of the address (up to 100 characters).
Example of use: to collect information about the postal address assigned to a retail outlet; - Date - used to specify the date; the value is written in the "dd.mm.yyyy" format.
Example of use: to specify the date of an audit or other events; - Text field - can contain only text values.
Example of use: to specify a text answer to a question; - Phone - may contain only numbers (11-13 characters).
For example, to indicate an additional contact number; - Numeric field - can contain only numeric values.
Example of use: to indicate a digital value, order; - Image - allows the user to attach *.jpg and *.png images up to 16MB in size.
Example use case: for adding audit photos. - Multiple choice is a question with multiple answer options.
Example use: for allowing users to select multiple desired options. - File size: up to 100 MB. For example, to add a video. File types and formats are shown in the table below:
- Email - has the format A@B.C, where A is the local portion of the address, B and C are the domain portion of the address (up to 100 characters).
Images
Documents
Video
Audio
.jpg / .jpeg, .png, .bmp, .gif,
.svg, .tiff, .psd .ai, .eps, .indd
.pdf, .txt, .html, .csv, .doc, .docx
.docm, .xls, .xlsx, .xlsm, .ppt, .pps
.pptx, .pptm, .ppsx, .ppsm, .sldx,
.sldm, .odt, .ods, .odp, .odg, .one
.xml, .xps
.mp4, .m4v, .webm, .flv, .ogg
.ogv, .gifv, .avi, .mov, .wmv
.mp3, .wav, .flac, .m4a, .m4b
.raw, .voc
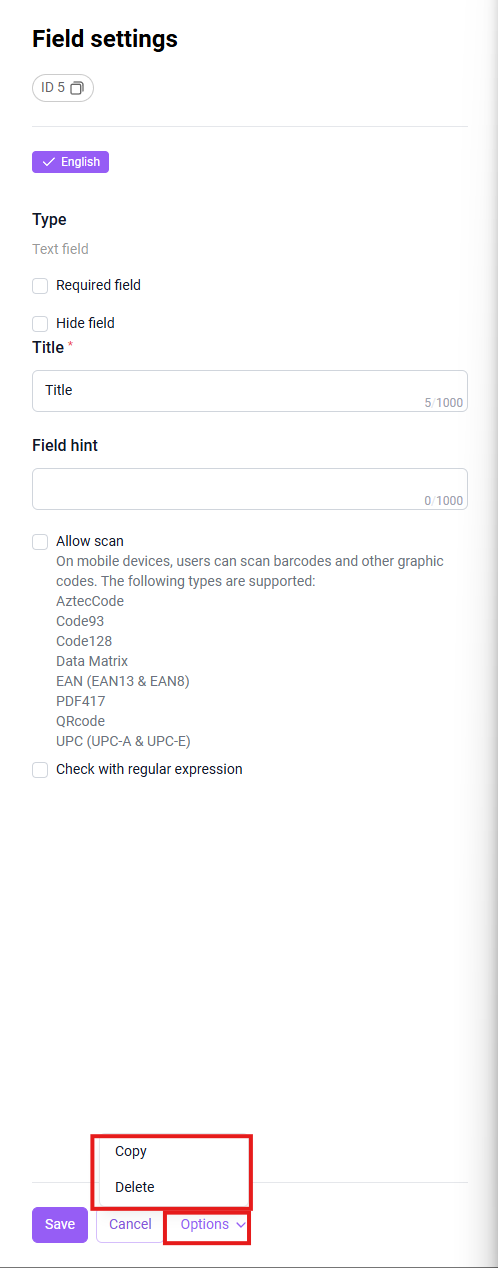
After selecting a field type, its editing card opens.

Fill out the form field card:- Enter the Field Name (max 30 characters);
- Specify a hint - Hint for the input field (max 1000 characters);
- Check the Required field checkbox if you want to fill in this Audit field;
- Check the Hide field checkbox if the field is not currently relevant and you do not plan to display it to the user (if necessary, you can make the field hidden if it becomes irrelevant in the form field card);
- The Allow Scanning checkbox (appears for all field types except Date, File, Image , and Multiple Selection ) allows you to scan a barcode or other graphic code on mobile devices. This will be added in future updates.
The following types are supported: AztecCode, Code93, Code128, Data Matrix, EAN (EAN13 and EAN8), PDF417, QRcode, UPC (UPC-A and UPC-E); - The Validate input with a regular expression function is displayed for Numeric and Text fields and allows you to additionally validate user-entered data against a specified regular expression (max. 100 characters).
- Technical details
The hidden field will not be displayed to the user.If the "Camera Only " image capture option is enabled for the Image field , this audit must be performed by users on mobile devices . This feature will be added in future platform updates.
The Name field is required. , and Regular expression for input if the Validate input with regular expressions feature is enabled.
After filling in the Audit form field card, click Save to apply and save the changes.
Created form fields can be:
- To move them relative to each other , or to move them to another section, click on the move symbol to the left of the form field and drag it to the desired location.
- Copy:
- from the field card itself, by clicking Options and Copy ;
- using bulk actions on the Form Fields tab - select the required fields in the checkboxes, click Actions and Copy ;
- Delete:
- from the field card itself, by clicking Options and Delete ;
- using bulk actions on the Form Fields tab - select the required fields using the checkboxes, click Actions and Delete ;
Note: Copying and moving form fields is only possible in hidden status.
To change the Audit status to Active , you must create at least one required field.
Once you have created an Audit, configured its basic settings, and added form fields, you can proceed to adding a list of Audit objects.
Adding Audit Objects
The Who/What We Check tab is used to select users who will be audited.
You can select audit objects either by user groups or individually. These two options for adding audited objects can be enabled either together or independently.
Adding a group of audited users
To add a group of users who will be audited, you need to:
- Go to the Who/What We Check tab of the Audit;
- Check the box next to the Users Group function - a table with the destination groups will be displayed;
- Select one or more user groups for which the Audit can be performed.
- Important
The principle of selecting audited users using the Users group and Individually checkboxes on the Who/what we check tab works similarly to the Access tab .Version 14.3.0 : To activate auditing, you must add at least one user when selecting individual access on the Who/What to Audit tab . When selecting group access, you must add at least one group .

The Only Subordinates function allows the manager to display only his subordinates (direct and functional):- The list of subordinates of the immediate supervisor corresponds to the list in my team without nested commands;
- The list of subordinates of the functional manager corresponds to the list in my team according to the hierarchy;
- If a user who is not a manager or has no subordinates is selected as an auditor , he will not be able to complete the audit - the list of auditees will be empty .
When the Only subordinates function is enabled, the checkboxes for selecting audit objects by group and individually become unavailable.
Individual addition of audited
In some cases, only a few users, perhaps belonging to different groups, should be audited. For this purpose, you can use the Individually function on the Who/What to Audit tab:
- Go to the Who/What We're Checking tab ;
- Select the Individual function ;
- Add the required users using:
- the user search bar by email, first/last name, ID, or login;
- the Select User button - clicking it opens a window where you can select the required users from the list, and also use the group filter to customize the display of the desired user groups.
If you want to remove an auditee from the individual list of audit objects, then:- Select a user from the list using the checkbox;
- Click Actions and select Delete .
- Technical details
Changes to the audit list will be visible to users within 10 minutes after saving the active audit.How to grant access to Audit
Configuring audit access on the Access tab is similar to granting access to any other content on the platform, with the exception of bulk actions in the Audits section itself—this feature will be implemented in future updates.
Once you've created and configured an audit, you can set it to Active status so users can complete it.
The ability to view audit statistics will be implemented in future platform updates.Cases of using Audits.
This functionality is paid, but preliminary testing is available. Contact your manager to find out the cost and setup timeframe.